

 Solar food dehydrator
Solar energy is commonly used to produce hot water or electricity for our buildings. Another, lesser known use is for drying food.
This technology allows fruit, vegetables, fish or meat to be dried without the use of fossil fuels and pollutants. With less moisture, food can be stored for long periods and thus be available out of season.
Food preservation is a particularly important issue in the third world where cooling systems are scarce and electricity supply unreliable. The use of local, low-cost, renewable energy is an extremely clever solution for these countries.
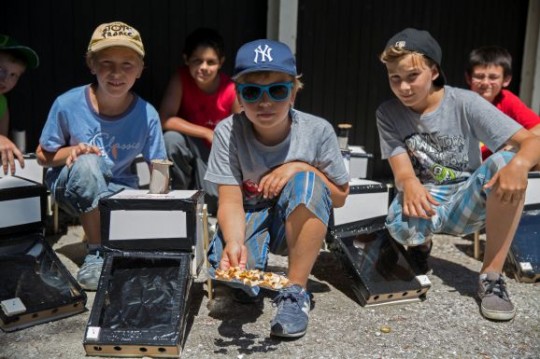
There are different models of solar dehydrators.
- Natural solar dryers expose food directly to the sun on a mat or on the sand.
- Direct solar dryers expose the food in a glass box.
- Indirect solar dryers use a glass box but dry the food seperatly with no direct sun.
In the first two cases, there is a risk of overheating and food degradation, including the destruction of vitamins A and C by direct sunlight.
This project uses instead the indirect solar dryer technology. Although more complex to build, it offers many advantages:
- products are protected from external damage
- vitamins are preserved because food is not exposed to direct sunlight
- air flow is better controlled
- drying is quicker.
| Date | 19.07.2022 |
| Author | Martin |
| Organization | webenergie |
| Translator | webmaster |
| Final purpose | Produce light or heat |
| Field | Energy Substainable development |
| Language | français english |
| Licence |  |