

 Réalisation - Geothermal model
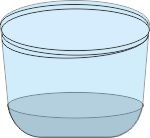
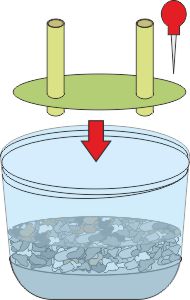
Etape 1
Mix the water and the quick-setting moulding powder according to the instructions. Place a layer of the mixture on the bottom of the jar, not thicker than 1 cm.
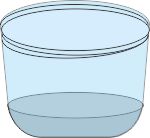
Etape 2
Wait for the moulding paste to harden (approx. 20 min), then add a layer of 1.5 cm of gravel.
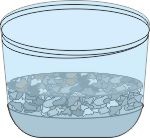
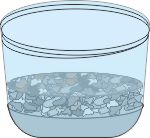
Etape 3
With a large awl make two holes in the thin plastic circle. Push the two straw sections through the holes, letting them stick out a bit the other side. Push the straws into the gravel layer.

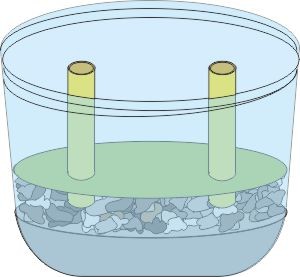
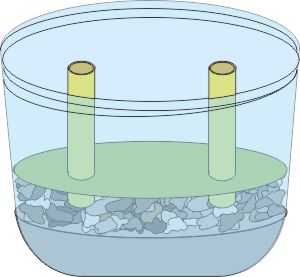
Etape 4
Prepare some more moulding paste and fill the rest of the jar almost to the top. Wait for it to set, then decorate the surface to create a small landscape.
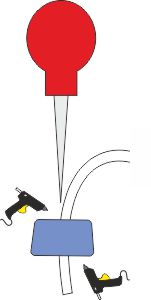
Etape 5
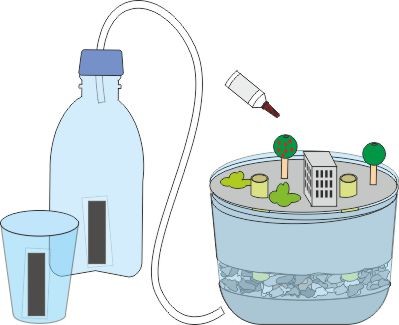
Punch a hole in the center of the bottle cap and push through one of the flexible tubes for about 2cm. Seal on both sides with hot glue.

Etape 6
With transparent adhesive tape, stick one thermochromic strip on the bottle and the other one on the small glass.

Etape 7
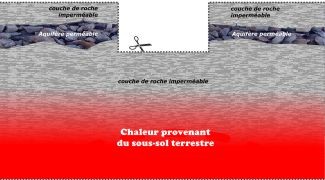
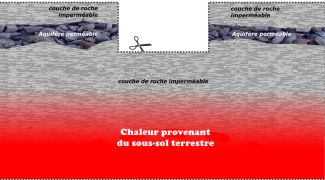
Download the diagram below from the Blueprints/Plans section and cover it both sides with transparent plastic sheet or laminate it. Cut out the outline.
Etape 8
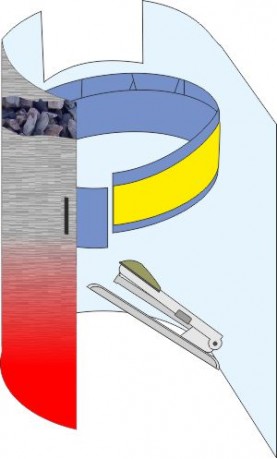
Open the cardboard ring by cutting it vertically.
To make it waterproof, cover it with plastic sheeting or laminate it


Etape 9
With double-sided adhesive tape, fix the ring inside the diagram to form a cylinder. Staple both ends to fix it well.

 |  |  |  |  |  |  |  |