 How to use ? - Educated monkey
Holes and slots
Step 2
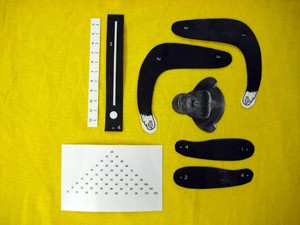
With punch pliers, make holes where crosses are indicated (12 holes).
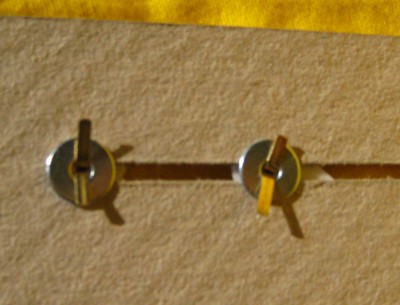
Be careful to choose the right size hole. It should just fit the brads but not more.
On the black rectangle: punch the big white hole with the largest size available on the punch pliers or cut with a box cutter.
At the bottom of the cardboard, cut a 12cm long and 3mm wide slot.
Positioning the numbers
Step 5
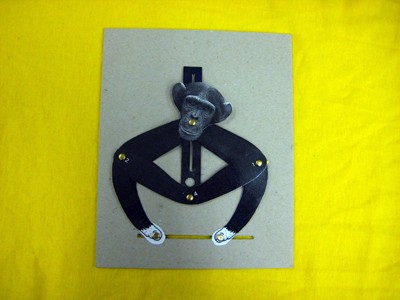
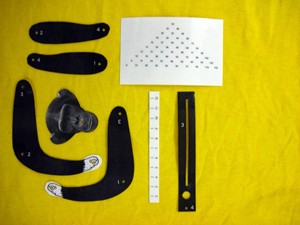
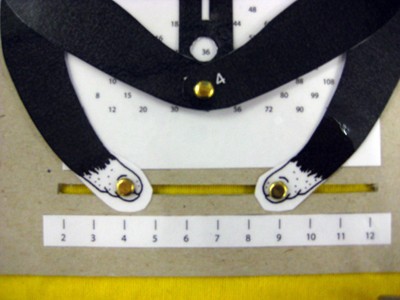
Using double-sided adhesive tape, glue the strip with numbers 2-12 under the cardboard's slot. The strip must be entered and positioned so that the chimpanzee feet do not touch the strip.
Position the "pyramid of numbers" in a way that the correct answer is shown in the large hole. To do this, position the feet brads above the selected two digits and move the pyramid paper until the correct answer appears in the hole above its hands. Test with several combinations of numbers. Keeping it in position, paste the pyramid with double-sided adhesive tape.
 |  |  |  |  |


