Step 1
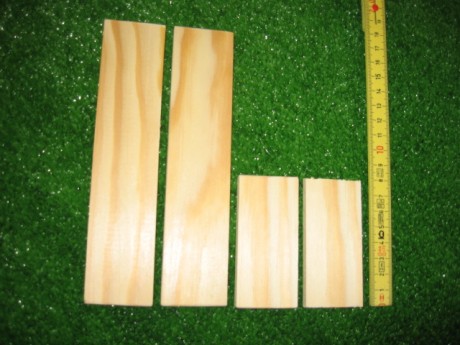
Cut a wood slat in 4 parts:
two 17 cm long pieces
two 4,8cm long pieces
Rub the ends with sandpaper.
|
Step 2Drill three holes in the two 17 cm boards with a 4 mm bit (the picture shows the locations of the holes)

|
Step 3
Download and print the file "face_calperpet.pdf" from the blueprints/plans section.
Cut one of the rectangles (the file contains the same rectangle twice if you want to build several calenders).
Glue this rectangle on a cardboard and cut it at the same size.

|
Step 4
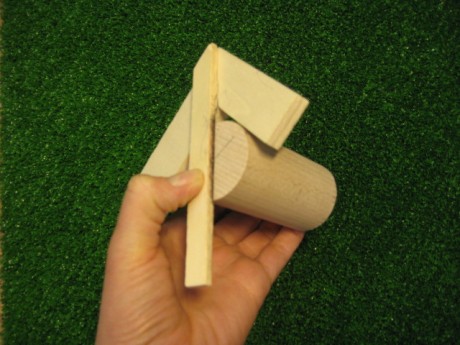
With the help of a center square, mark the center of each sides of the three cylinders.
Next, drill them with a 3 mm bit.
|
Step 5
Print the file "cylindres_claperpet.pdf" (downloadable form the blueprints/plans section).
Cut out the three rectangles.
Attach the rectangles around the cylinders with adhesive tape.
 |
The adhesive tape must touch the wood to avoid the paper cylinder to turn by its own.
|

|
Step 6
Using 3 screws, attach the 3 cylinders to one of pierced wood board.
You must organize the cylinders in the right order: month / century / year.
Do not over tighten the cylinders to allow them to rotate easily.

|
Step 7
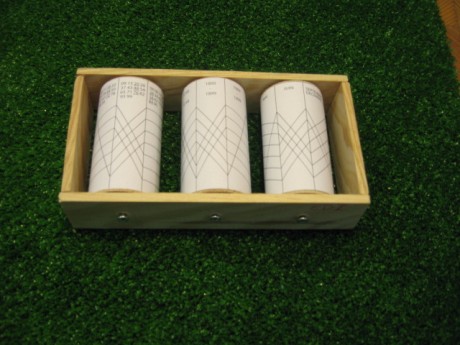
Tighten the same way the bottoms of the three cylinders to the other board.
Glue the two small boards on the edges to form a frame around the 3 cylinders.
|
Step 8
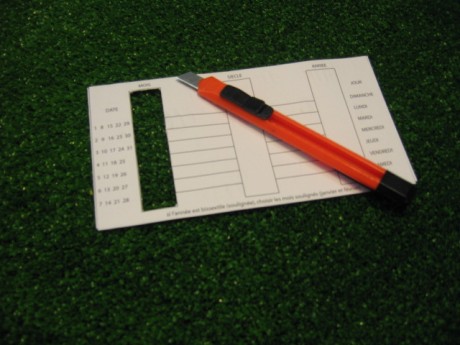
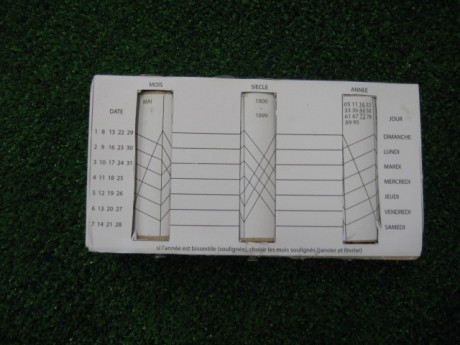
The front of the calendar stuck on the cardboard should now be dry.
If it's the case, cut out the three "windows" with a box cutter.
|
Step 9
Glue the cardboard front of the calendar on the wooden frame.
With a screwdriver, adjust if necessary the height of three cylinders so that the lines are continuous.
|


