Etape 1Download the two pages pdf in the plans/sandpaper section.
Print them on an A4 page at 100%.Transfer all templates on a thick cardboard (lid + box + divider + 2 frames for electronic module).
Mark the lines with a ruler and a punch, and cut along the solid lines with a pair of scissors and a cutter.Punch a small hole where shown.
Fold the lid and box together and fix with white glue.
Tape the lid to its base on both sides of the box.
Add the divider by gluing the two flaps together. 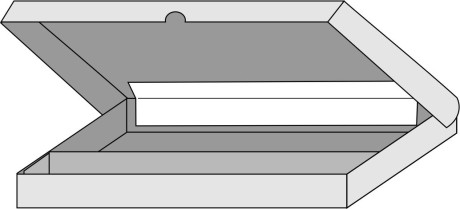
|
Etape 2Cut four 9cm pieces and two 15cm pieces of red and blue wires, and strip the ends.
Using the soldering iron, add a little tin to the ends of the small wires and to one end of the large wires. 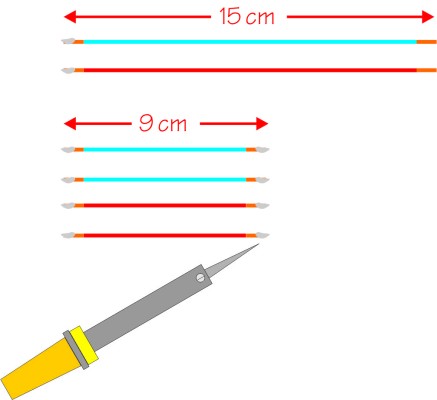
|
Etape 3For each colour, twist the wires together, starting with the two smallest and ending with the largest.

|
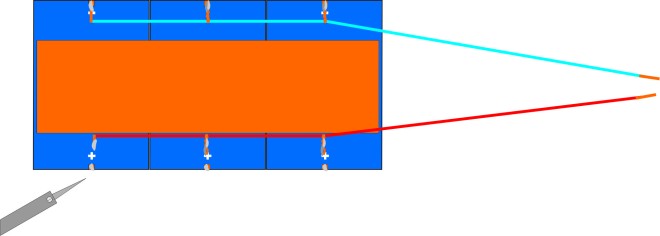
Etape 4Place the reverse side of the photovoltaic cells side by side (all + on one side, all - on the other) and tape them together with 21 cm double-sided adhesive tape.

|
Etape 5Using the soldering machine, put a drop of tin on the + and - connections of each solar cell, then solder the cells to the assembled wires (red +, blue -; wires facing inwards).
The two long cables at one end should not have any tin on, they should just be twisted.
|
Etape 6Remove the tape protection, pass the two free wires through the hole in the side, and glue the cells to the cover. 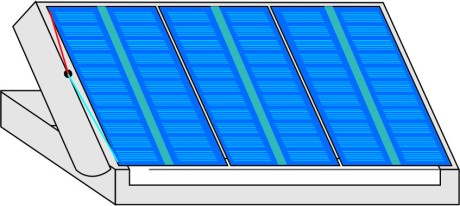
|
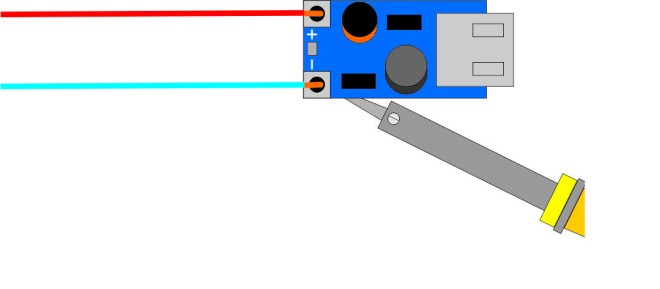
Etape 7Pass the ends of the wires through the two holes in the USB electronics module, observing the correct polarity (red +, blue - ).
Solder them on the other side.
|
Etape 8On the inside of the lid, glue one of the cardboard frames to its slot using white glue.
Fix the USB module in the hole in the frame using contact adhesive.
Fix the second frame on top, using white glue. 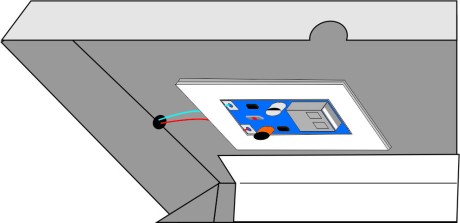
|
 Réalisation - USB solar charger


