Etape 1Cut a piece of cardboard corresponding to the opening of the cereal box.
It should just pass through the opening of the box. 
|
Etape 2Cut out a rectangular window in this cardboard. 
|
Etape 3Cover the window with tracing paper.
Fix the tracing paper with adhesive tape, keeping it is stretched. 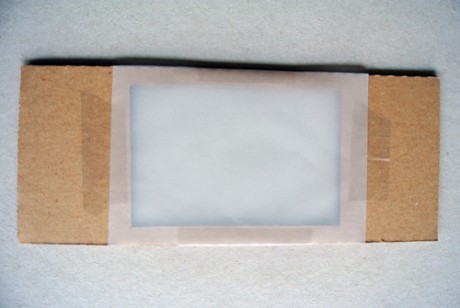
|
Etape 4View of the window on the other side. 
|
Etape 5Fix two pieces of thick tape on the sides of the cardboard to form 'handles' to help insert into the box.

|
Etape 6Surround the cereal box with thick tape to prevent it from getting deformed. Put the strip about 10cm from the base of the box. 
|
Etape 7Gently slide the windowed cardboard into the box, holding the handles aside. 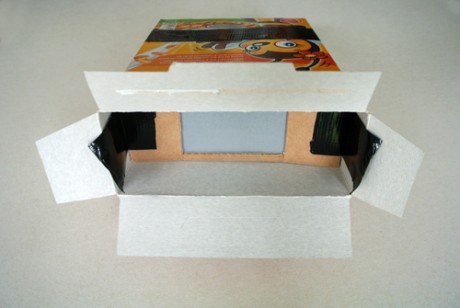
|
Etape 8Keep the windowd cardboard straight, parallel to the bottom of the box. Stop at about 8cm from the bottom.
The 'handles' can ehlp you to remove the cardboard if it has 'gone too far'.
Attach the 'handles' to the sides of the box with tape to hold everything in place. 
|
Etape 9Cut out two 'cones' from an egg box and make two holes in the bottom to form oculars. 
|
Etape 10Cut another piece of cardboard with a size corresponding to the opening of the cereal box.
Check the necessary spacing for the oculars (according to your face) and mark where the oculars should be fixed. 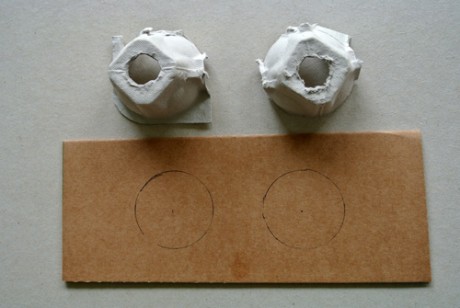
|
Etape 11Cut two openings for the oculars. 
|
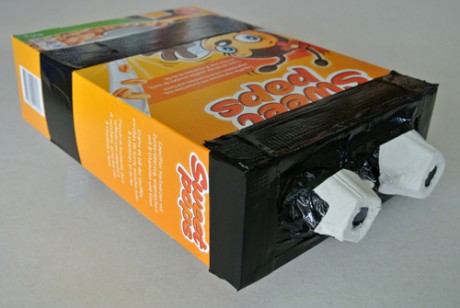
Etape 12Place the two oculars on top of the holes and fix them with thick tape. Cover all gaps where light could seep in. 
|
Etape 13Cut out a wide window in the top of the cereal box big enough not to hinder the vision of the oculars which will put on. 
|
Etape 14Place the board with oculars on the box and fix everything with thick adhesive tape. 
|
Etape 15Locate the central point of the bottom of the box and with the help of a drawing pin make a hole. 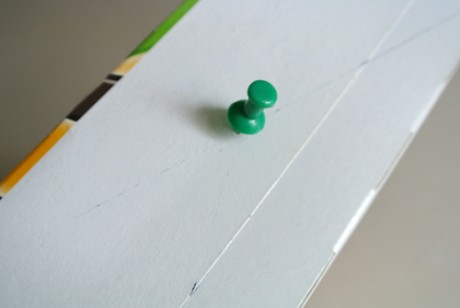
|
Etape 16This small pinhole will act as a diaphragm.
This is where the light (the image) will enter. 
|
Etape 17This is the finished camera obsucra!
 |
Check if the box doesn't let any light come in. Cover with thick adhesive tape any slits that could still let in light. |
|


