 Réalisation - Printmaking simplified
Etape 1
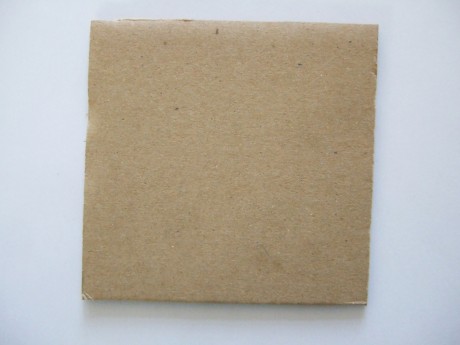
Cut a small square in the corrugated cardboard.
Choose the smooth side as the engraving surface.

You can also use the flat part of an egg box lid. This type of cardboard is easier to mark as it is smoother. On the other hand, the engraving is shallower and it is necessary to be pecise when inking. 
Etape 3
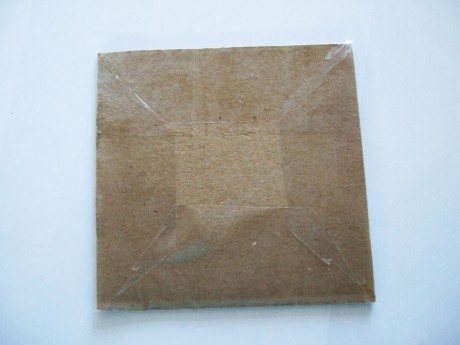
Turn the square and press the plastic well to be sure it sticks on the entire surface of the corrugated cardboard.
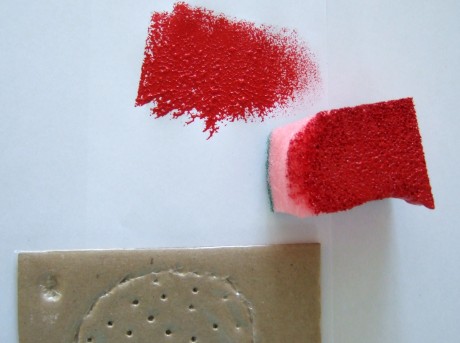
With a knitting needle (not too pointed) create the drawing by pressing strongly on the plastic surface. Pass several times in the same place to mark the lines well .

because this DIYs project can't produce very fine details, it is important to choose a very simple model (fish, star, sun, house, daisy, etc.) 
 |  |  |  |  |  |
0 Commentaire(s) | Ajouter


